Drupal Website Setup on Pantheon Explained

Introduction
A Drupal website requires a robust hosting environment to ensure optimal performance and security. Pantheon is a widely used web hosting platform that specializes in hosting websites built on content management systems (CMS) such as Drupal and WordPress. It provides a streamlined workflow for website development, testing, and deployment.
In this guide, we will walk through the process of setting up a Drupal website on Pantheon, configuring a local environment with Lando, and ensuring a smooth development experience.
1. Setting up a Drupal website on Pantheon:
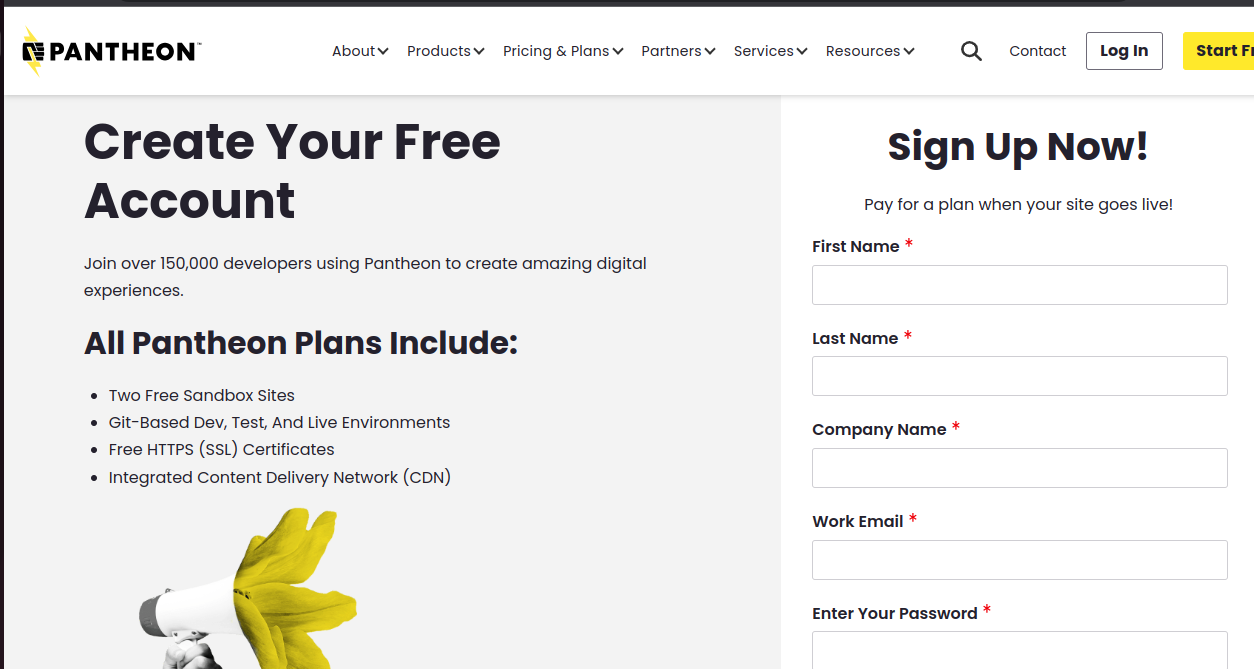
Navigate to the website “https://pantheon.io/”, sign up with your email address, and fill out the registration form if you are a first-time user. Once logged in, you can view your personal workspace.
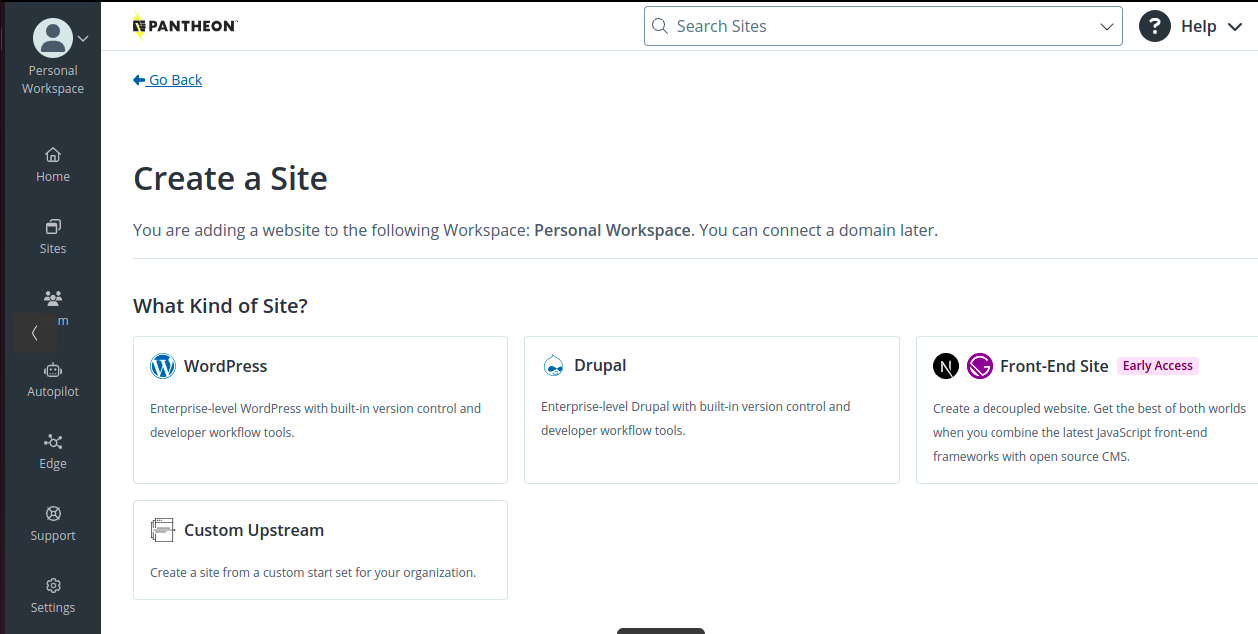
Click on “Create New Site”. Select the kind of site as per your requirement. Pantheon provides development for various CMSs such as WordPress and Drupal, and it also gives an easy way to front-end development.
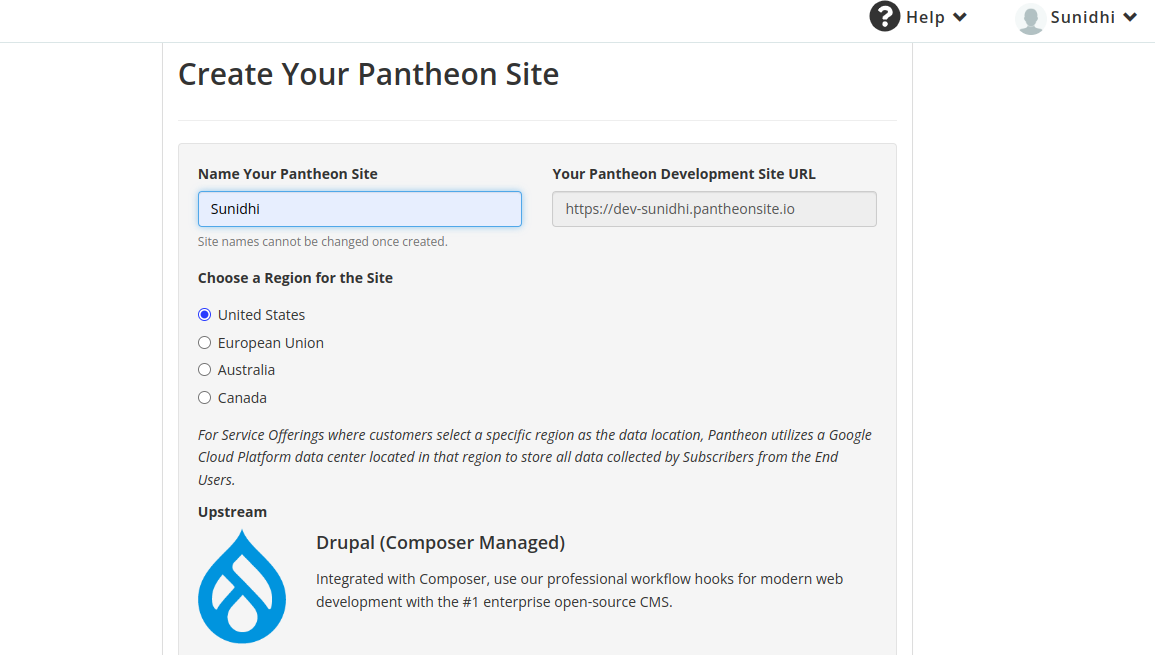
For this blog, we have opted for “Drupal”. After clicking on Drupal, select the required Drupal version and fill in the required information, such as the name of your site. The Pantheon development site URL is automatically generated.
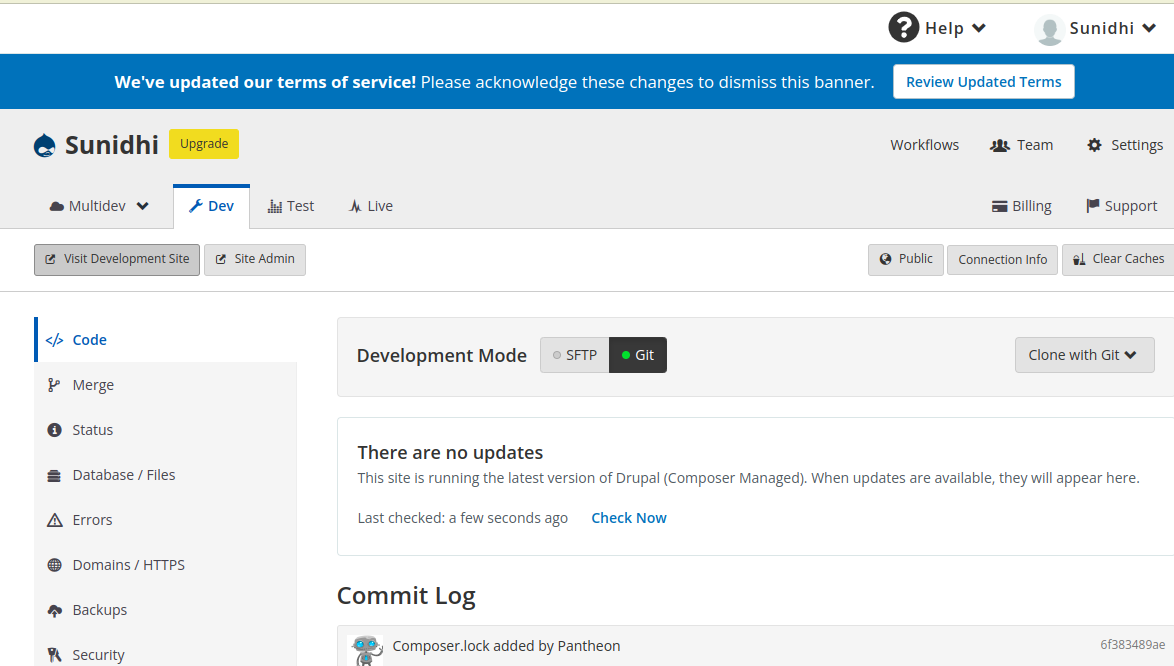
After successfully generating the site, you will be redirected to a page that contains all the code, files, and information about the database. Click on “Visit development site” to view your site.
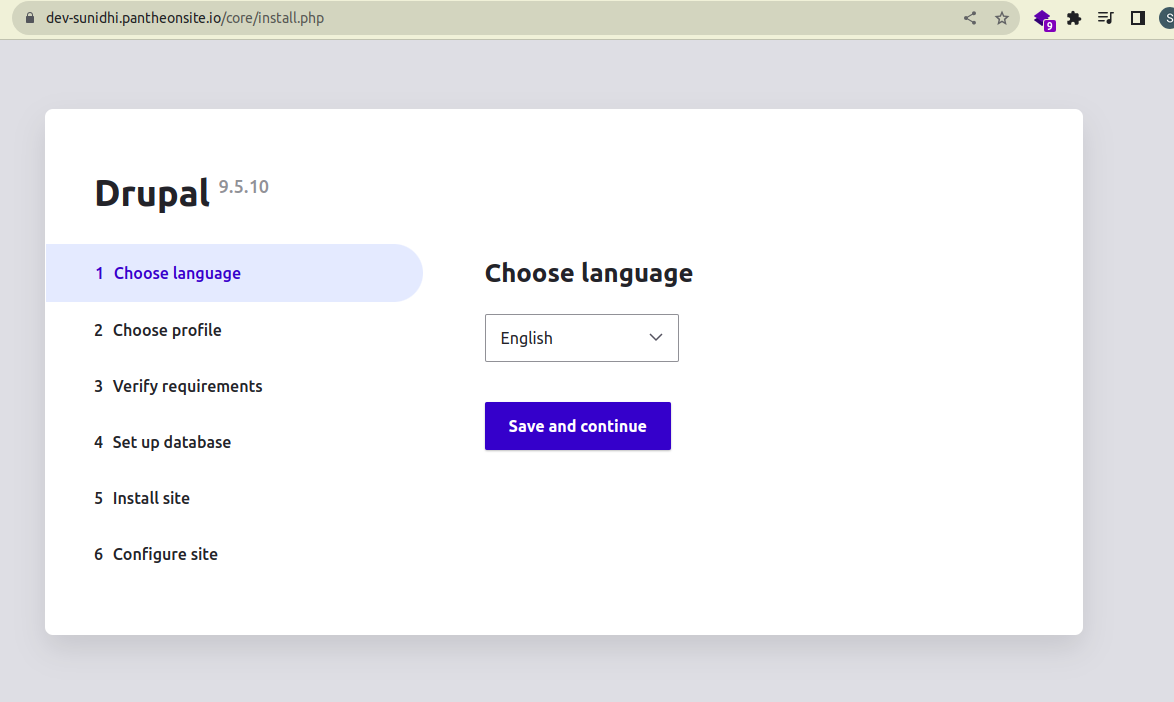
On clicking “visit development site”, you will be redirected to the Drupal installation page. Complete the required steps as you have been doing it locally, and you will have your Drupal website ready in seconds.
2. Setup the local environment of Pantheon with the help of Lando:
Follow the steps below to set up Pantheon environment locally using Lando:
1. Create an empty folder, open it in the terminal, and run the command “lando init”.
2. On running the above command, you will encounter certain questions such as “From where should we get your app’s codebase?”, “Enter a Pantheon machine token”, and “Which site?”.
When entering the Pantheon machine token, make sure you have one. If you don’t, follow the instructions stated below to get one:
Login to your Pantheon account, visit your profile, and click on manage tokens (/personal-settings/machine-tokens). To generate a new token, click on “add machine token.” Enter the desired name of the token, click on save, and you will have the token generated. Note: while running lando init, “Which site” will have all the sites listed that you have created in your Pantheon account for which you have entered the token above. Choose a site as per your requirement, and for “From where should we get your app’s codebase?”, select Pantheon.
3. In the next step, run Lando pull.
4. Finally, run lando start, and you will have your website ready.
Conclusion
Setting up a Drupal website on Pantheon simplifies deployment and provides a powerful hosting environment. With Lando, developers can easily manage a local development environment, enabling smooth collaboration and testing before pushing updates live.
By following this guide, you can efficiently build and maintain a Drupal website while leveraging Pantheon’s infrastructure. Whether you are developing a personal project or an enterprise-level solution, Pantheon and Lando offer a scalable and reliable foundation for your Drupal website.
For further enhancements, explore Creating a Stunning and Customized Pantheon Blog to fine-tune your website’s design and functionality.
Do you like to read more educational content? Read our blogs at Cloudastra Technologies or contact us for business enquiry at Cloudastra Contact Us.